Using Drone Imagery to Track Construction Progress
Why Drones Have Changed Progress Tracking
Construction projects generate a huge amount of data, but keeping track of what has been built and when has traditionally relied on site walks, still photos, and manual notes. Drone imagery changes that. A single flight can capture the entire site in minutes, producing high-resolution orthomosaics, 3D models, and surface maps that show exactly what exists at a given date. Over time, these datasets become a visual record that anyone on the team can consult.
Aerial progress tracking is not about replacing the site manager's judgment. It adds a layer of objective, measurable evidence that supports decisions about scheduling, payments, and quality control. When the client, the architect, and the contractor all look at the same georeferenced image, disagreements about what stage the work has reached shrink. The method works for residential subdivisions, commercial campuses, road extensions, and large industrial builds.
What You Need Before the First Flight
You do not need a cinema-grade drone or a licensed pilot for every project. A mid-range quadcopter with a 20-megapixel camera, GPS, and obstacle avoidance is enough for most sites. The key is consistency: the same sensor, same altitude, and similar lighting conditions on every visit. That way the images compare cleanly from one month to the next.
Flight planning software lets you set the area boundary, overlap percentages, and ground sampling distance before takeoff. For construction tracking, an 80 percent front overlap and 70 percent side overlap is a common starting point. The drone flies a grid pattern automatically, so each image overlaps its neighbours enough for photogrammetry software to stitch them into a single map.
Ground control points (GCPs) improve absolute accuracy. These are marked targets placed around the site and surveyed with a GPS rover. If the project requires centimetre-level precision for volume calculations or foundation placement, GCPs are worth the extra setup time. For simple visual comparison, the drone's built-in GPS is often acceptable, though the alignment may drift by a metre or two between flights.
Step 1: Set a Baseline Flight
The first flight establishes the reference. Before any earthmoving begins, fly the site and process the images into an orthomosaic and a digital surface model. This baseline shows the original topography, vegetation, structures, and access roads. Save these files in a folder structure that matches the project milestones. A simple naming convention helps: project name, date, and type of output.
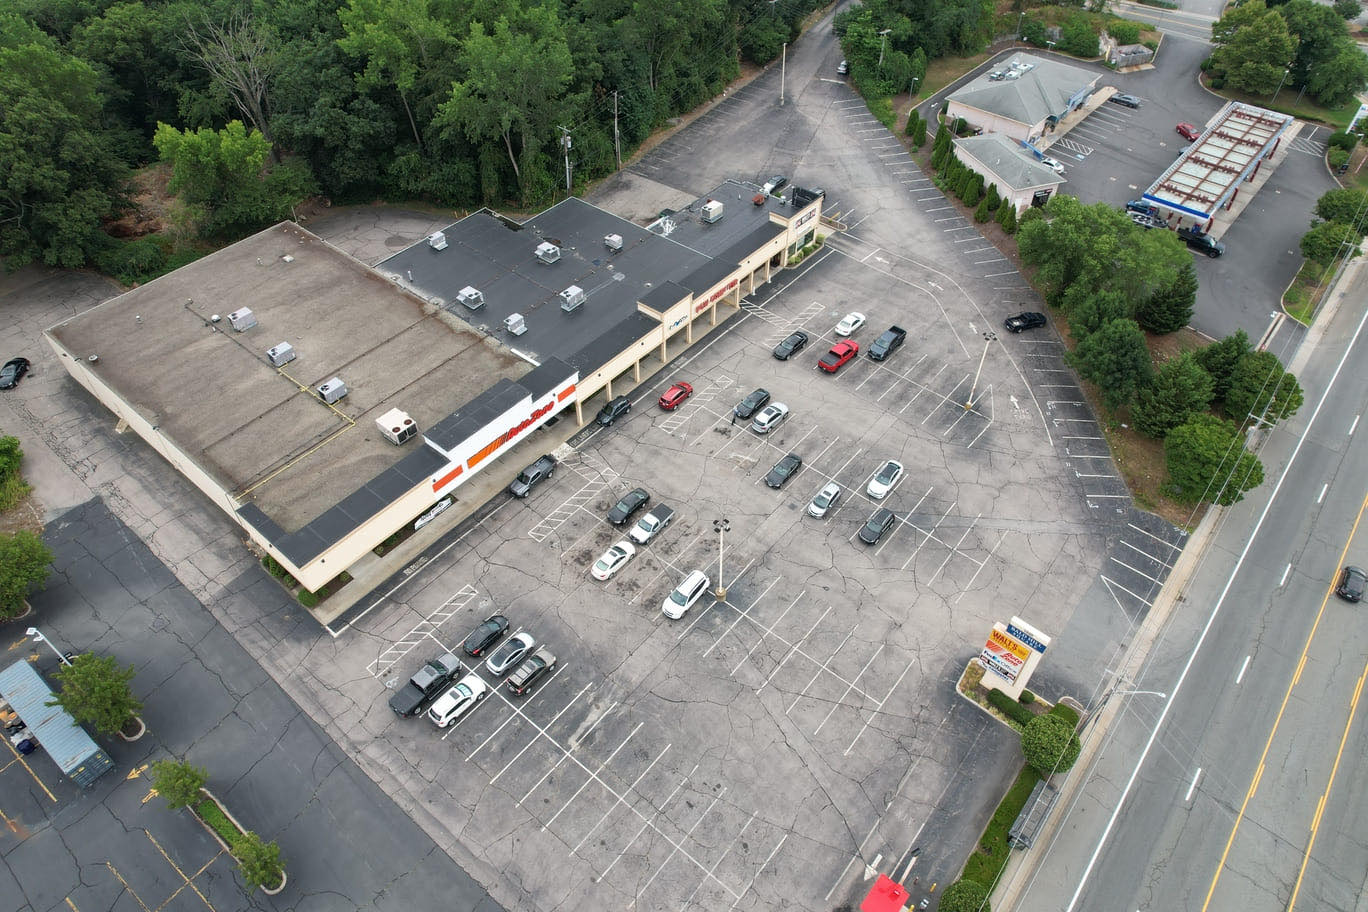
What to watch for: shadows from tall trees or adjacent buildings can hide details. Schedule the flight for midday or when the sun is high and the light is even. Overcast days are often better than bright sun because they reduce harsh shadows and give uniform colours across the mosaic.
Step 2: Schedule Regular Flights
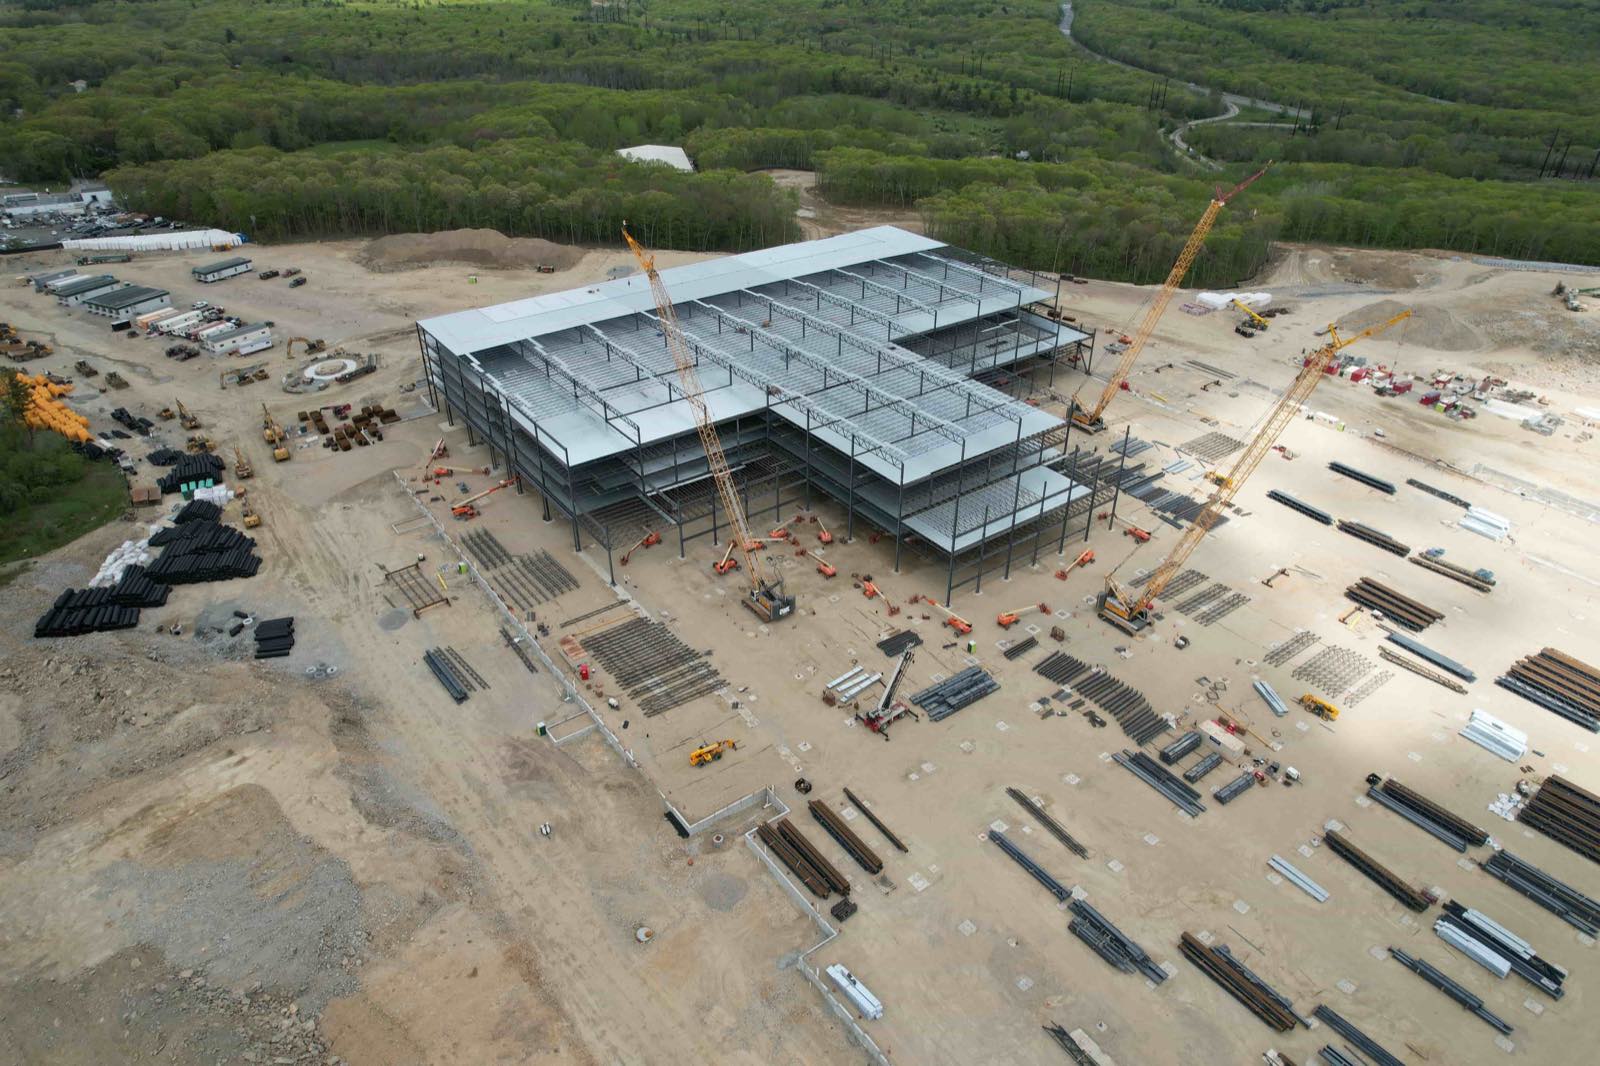
How often you fly depends on the pace of work. For a fast-track commercial build, weekly flights capture each slab pour, steel erection, and cladding stage. For a slower residential development, bi-weekly or monthly may be enough. The important thing is to pick a rhythm and stick to it.
Create a flight calendar at the start of the project and share it with the site superintendent. They can clear the area of loose debris, secure loose tarps, and make sure no one is working directly under the flight path. Safety is the priority: no flights over people, no flights in restricted airspace without authorisation.
What to watch for: weather changes. Wind speeds above 25 km/h can affect image sharpness. Rain or fog will produce dull, low-contrast images that are hard to process. If conditions are poor, postpone the flight by a day rather than collecting unusable data.
Step 3: Process the Raw Images
After each flight, the raw images need to be turned into something useful. Photogrammetry software aligns the images, corrects lens distortion, and blends them into a single orthomosaic. The same software can generate a digital surface model (DSM) that shows the height of every point on site, including stockpiles, structures, and trenches.
Processing time varies. A 50-hectare site with 300 images might take two to four hours on a decent desktop computer. Cloud-based processing is faster and does not tie up your own machine. The output is typically a GeoTIFF file that can be loaded into GIS or CAD software.
What to watch for: processing errors. Stitching artefacts appear as blurry bands or misaligned edges. They happen when the overlap is too low, the drone flew too fast, or the terrain has steep changes. Review the orthomosaic at full resolution before sharing it. If artefacts are present, you may need to re-fly the affected area.
Step 4: Compare Flights Over Time
This is where aerial progress tracking delivers its real value. Load two orthomosaics from different dates into a comparison tool and toggle between them, or overlay them with a slider. You can see exactly which areas have been excavated, where foundations have been poured, and whether the building envelope matches the approved plan.
Volume calculations are another powerful feature. By subtracting the DSM from one date from the DSM of a later date, you get a cut-and-fill map that shows how much earth has been moved. This is useful for tracking earthworks progress, verifying contractor quantities, and avoiding disputes over payment.
What to watch for: datum shifts. If the two DSMs are not aligned to the same coordinate system, the volume numbers will be wrong. Always process new flights against the same ground control points or reference the baseline flight's coordinate system.
Step 5: Share and Collaborate
The whole point of creating these datasets is to get them in front of the people who need them. Upload the orthomosaics, DSMs, and annotation layers to a platform where the project team can view, measure, and comment. Some platforms allow you to mark a point, add a note, and assign it to a team member. That turns the drone imagery into a communication tool, not just a record.
Platforms that offer versioning make it easy to see what changed between uploads. You can create a timeline view of the site, with each flight date as a snapshot. The project owner can log in from anywhere and see the same data the site manager sees.
What to watch for: access control. Not everyone on the project needs full editing rights. Set permissions so that consultants can view and measure, but only the project manager uploads new flights or deletes files. This keeps the data set clean and prevents accidental loss of historical records.
A tool like National Drone Services aerial progress tracking brings all these capabilities together, from flight planning through to sharing. It gives the team a single source of truth for site status, reducing the need for lengthy email chains and site visit reports. When used consistently, it becomes the backbone of the project's documentation.
Step 6: Use the Data for Reporting and Payments
Progress reports become simpler when you can show a side-by-side comparison of last month's orthomosaic and this month's. Instead of writing paragraphs about what was done, you attach a georeferenced image with annotations. The client sees the steel frame going up, the roof membrane being laid, or the landscaping taking shape.
Payment applications benefit from the same evidence. If the contract ties milestone payments to percentage completion, drone imagery provides an auditable record. The quantity surveyor can measure the area of completed work directly on the orthomosaic and compare it against the schedule of values. Disputes are less likely when both sides look at the same measurement.
What to watch for: measurement accuracy. A 2D orthomosaic is accurate in the X and Y axes but does not show vertical details like the height of a wall. For payment verification, combine the orthomosaic with a DSM or a 3D mesh to confirm that structures are built to the specified elevation.
Step 7: Archive for the Long Term
When the project ends, the drone data becomes a permanent record. Store the original images, the processed orthomosaics, and the DSMs in a format that will remain readable for years, such as GeoTIFF and LAS. Cloud storage with version history protects against accidental deletion.
This archive is useful for warranty claims, future renovations, or legal disputes. Years later, when someone asks whether a retaining wall was built to the correct depth, the orthomosaic from the construction phase will show the answer. It is also valuable for marketing: time-lapse videos made from the monthly orthomosaics can be used in proposals for similar projects.
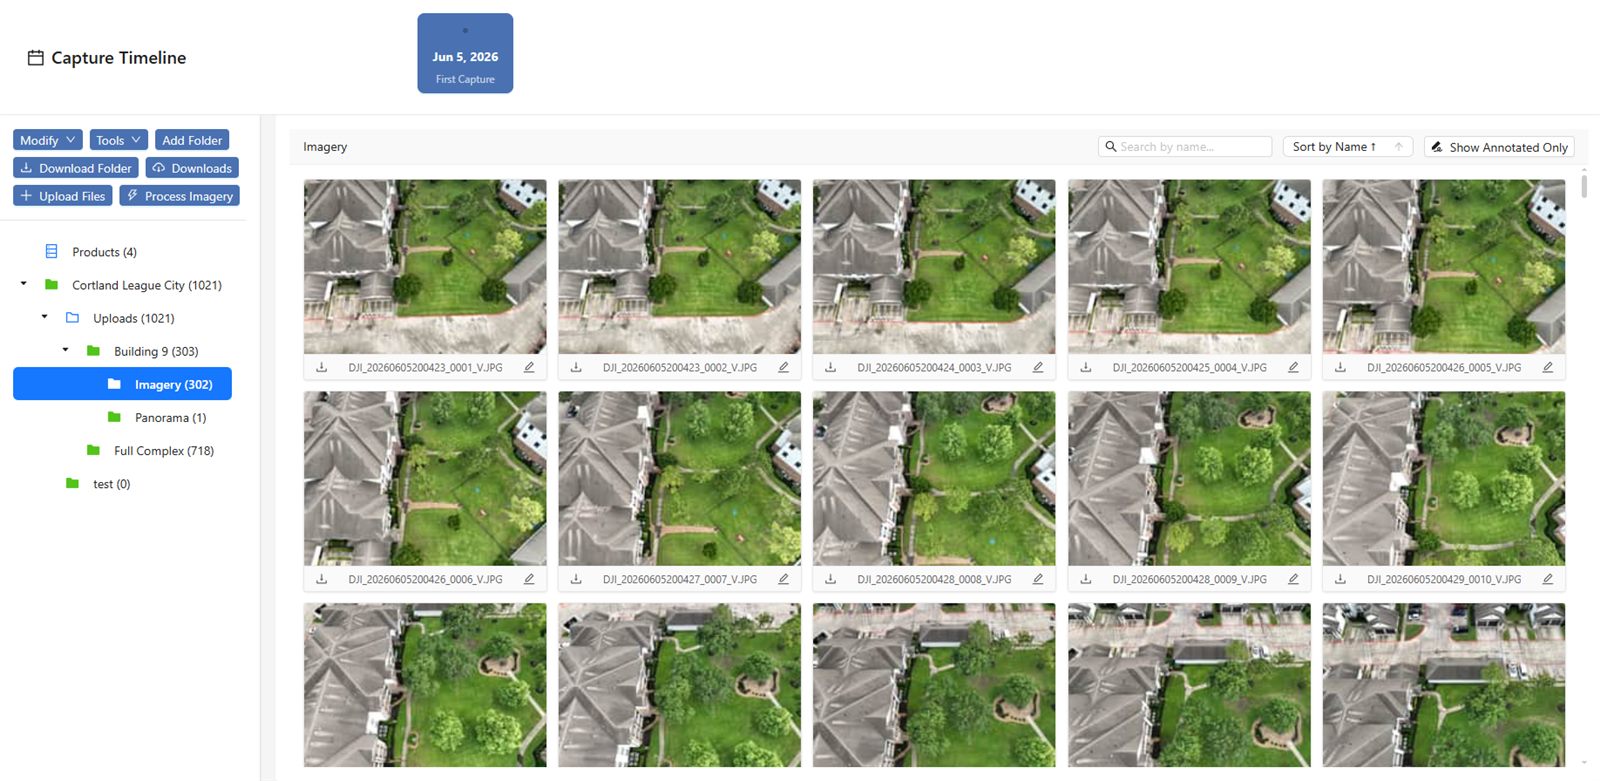
What to watch for: file naming and metadata. Without clear labels, a folder full of GeoTIFF files from different dates becomes impossible to sort. Include the project name, date, flight number, and type of output in every filename. Keep a spreadsheet that maps each file to the flight log and the GCP survey data.
Making It Routine
Adopting drone imagery for construction progress tracking does not require a big investment in new hardware or training. Most construction firms already have a drone or can hire one. The shift is more about process: setting a flight schedule, processing the data promptly, and making the results visible to the whole team.
National Drone Services aerial progress tracking is one example of a platform built for this workflow. It handles the processing, comparison, and sharing steps so that the team can focus on interpreting the data rather than wrestling with software. Over the course of a project, the accumulated imagery becomes a detailed, honest timeline of how the site changed, day by day and month by month.
Start small. Pick one active project, fly it once, and process the orthomosaic. Share it with the project manager and ask for feedback. Once the team sees how clear and useful the data is, the practice tends to spread to other sites on its own.
National Drone Services on social media
 Facebook